Here are two links to the LXF files
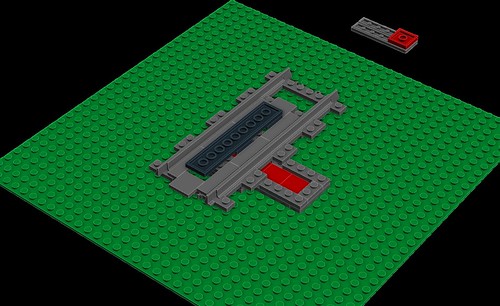
The baseplate version http://www.mediafire...zxlt9jw2y59t4dn
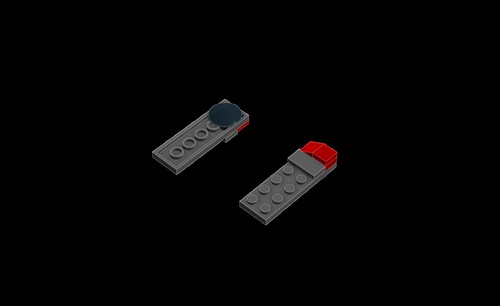
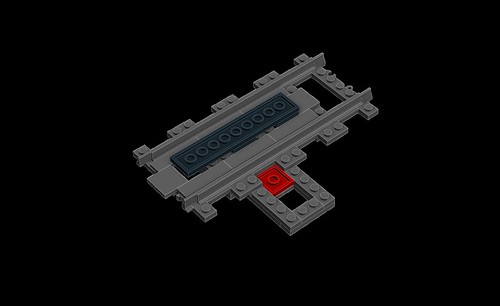
and the freestanding version http://www.mediafire...jwh7xndcqntw2sj
Don't forget that a bit of track either side should be raised up to form a gentle incline, as a sudden 2 plate jump may be a bit steep.
13 March 2013
12 March 2013
Close but no cigar....
Another day, another version of the decoupler.
The Mk III supercedes the second version, which although worked perfectly, only did so with low clearance wagons.
Lets run through the changes:
The Decoupler
This has now grown to a 2 x 10 plate and has some extra parts in the middle. The wedges are now the important part, with the other bricks being addition weight.
Guide to building the Simple Decoupler version 2
There is nothing to this build, a few common parts
Three sections make up the decoupler.
1) Track section
2) Decoupler
3) Lock
Three sections make up the decoupler.
1) Track section
2) Decoupler
3) Lock
I've done thinking...
I looked at the slider, but there is no flexibility on adding anything else to it, due to small heights available.
So the only other thing to change would be the decoupler itself.
The design now incorporates a 1 x 1 wedge and this allows the slider to move underneath and move the decoupler back into the closed position.
So the only other thing to change would be the decoupler itself.
The design now incorporates a 1 x 1 wedge and this allows the slider to move underneath and move the decoupler back into the closed position.
I see a problem...
Although the slide lock does its job, it doesn't move unless you slightly move the decoupler. Which is a pain, as you only really want to move the slider and nothing else.
More thinking is required.
Hang on a minute...
Yes, you may have spotted that although this works, it only works in the sense of decoupling, you can't go back and reattach the disconnected wagon.
So the time machine plans have been put on the back burner, again...
What about if I added some type of lock that keeps the decoupler in place when not required ?
Lego Train Decoupling
I was perusing the EuroBricks Train Tech Forum and saw a topic on decoupling. The OP was describing an HO scale decoupler, which was track based and worked quite well in separating the wagons/coaches/engines etc.
Now I’d
seen previous solutions and they seemed to be highly engineered, on-board
motorised devices which I wasn’t keen on as it used another motor.
Don’t get
me wrong, I like these solutions and the ones for motorised switches, only if I
had access to lots of motors...
So the
question “Is there a simple decoupler design that can be built from relatively few bricks that works ?” is what I started to think about.
Subscribe to:
Posts (Atom)